


Narva Heavy Duty 4WD Panel Mount Switch ¨C 12 Volt ... - 12 volt surface mount switch
All you need for WLED Sound Reactive Matrix using a Digital MEMs I2C Microphone https://www.youtube.com/watch?v=I50bpmIgZgg
3D-Printed Hexagons, an Arduino Nano, and LEDs Aplenty Make for a Great Halloween FastLED Helmet Based on the FastLED library’s example sketch, this configurable helmet started life out as a paper-covered beach ball. https://www.hackster.io/news/3d-printed-hexagons-an-arduino-nano-and-leds-aplenty-make-for-a-great-halloween-fastled-helmet-9501c1dc9d96
given this unit and the wireless dmx unit is sewn into the actor’s clothes – i should think mike is thinking this could all be done in a tiny single unit
Old-school filament-based Christmas lights used to be available in twinkling form. LEDs, with their hard-on and hard-off nature, aren’t naturally predisposed to such behavior. To rectify this, some time ago, [Mark Kriegsman] built an Arduino program that makes LEDs twinkle beautifully.
Photography is all about light, and capturing it for posterity. As any experienced photographer will tell you, getting the right lighting is key to getting a good shot. To help in that regard, you might like to have a fill light. If you follow [tobychui]’s example, you can build your own!
The build relies on addressable WS2812B LEDs as the core of the design. While they’re not necessarily the fanciest LEDs for balanced light output, they are RGB LEDs, so they can put out a ton of different colors for different stylistic effects. The LEDs are under the command of a Wemos D1, which provides a WiFI connection for wireless control of the light.
i liked the dmx protection part, there is ptc, then resistor, then there’s ambulance which is quite loud, and then it’s zener
Three things to consider in your design: 1- the channel count goes up like cray cray, do the math before you max out your board! 2- they get really angry at voltage drop and doing power injection every 50ft isn’t quite enough for every setup. There are three main types of pixels: unregulated 12v, regulated 12v and the 5v ones. I won’t go off on this topic on here, but go read on that, you’ll see what each one’s strengths are but mostly what their weaknesses are
An aluminium flashlight featuring a bright white LED light packaged in a black gift box with an extra set of battery refills. Price includes choice of laser ...
This is a very minimalist controller for WS2811 and WS2812B style addressable LEDs. It lets you choose an effect and speed, and will then run that effect whenever powered. Basically a fit-and-forget LED controller that could be ideal for signage, effects and costumes.
Mt Tedious is a massive 32×32 LED wall display, controlled by Arduino: https://www.reddit.com/r/WLED/comments/13k6mrg/i_call_it_mt_tedious_my_almost_4ft_x_4ft_32x32
This looks like an Arduino project modified with mostly decent protection circitry. Besides protection on that output (you can use one output of an RS485 driver for this with diodes etc) I would also protect the power supply from being reverse connected with a couple of diodes.
Sleeping Beauty Wedding Dress – The Details https://bretthaddoak.com/2022/06/15/sleeping-beauty-wedding-dress-the-details/
My guess is it was originally designed for the more common 5V LED tape, but they forgot to add protection when they modified it for 12-24V use.
Most pixel controllers I’ve seen use a series resistor between 33R and 100R on each output. AFAIK, it’s mainly there for slew rate limiting.
Bonus topic: look at ws2813 and ws2815 too. They bring some quite incredible stuff including but not limited to increased PWM refresh rate and LED bypass (a thing that allows the string to continue working even if one LED goes bad. Pretty cool stuff!)
A hairpin turn (also hairpin bend or hairpin corner) is a bend in a road with a very acute inner angle, making it necessary for an oncoming vehicle to turn ...
1200 Addressable LEDs Make For The Perfect First Dance https://hackaday.com/2022/06/16/1200-addressable-leds-make-for-the-perfect-first-dance/
Nightdriver leddownload
tactical flashlight, rechargeable flashlight, work light, cob led, led, dual function, safety light, flashlight, mini, small, portable light.
The program is known as TwinkleFOX, and relies on the popular FastLED library for addressable LEDs. [Mark’s] demo setup is built around using WS2811 LEDs, put together in a string with plastic diffusers on each bulb. The Arduino is programmed to vary the brightness of each LED according to a triangle wave function. To create the twinkling effect, each LED has its own unique clock signal, so they vary in brightness at different times and at different rates.
Now it’s time to set up the software on the PC side. You’ll need the SignalRGB software, which you can install from signalrgb.com. This is primarily designed for controlling the LEDs in fancy computer peripherals – the sort of setup where you have the keyboard backlights moving in time with the lights on the CPU cooler. We’re not going to do any of that, but we can use the same system to control our LEDs.
Episode 583: Epic Neopixel Birthday Cake https://community.element14.com/challenges-projects/element14-presents/project-videos/w/documents/27934/episode-583-epic-neopixel-birthday-cake
PCB can be a square as wide as the strip, with large well distanced pads for soldering on a 3 wire flex. Circuit could be a zener clamp, a single-FET level shifter or a powered single gate level shifting IC. Maybe screw a loose 5V1 zener into the clamp and put the rest of the adapter circuit on the termination board (8x8mm) at the strip.
Who needs nano leaf tiles when you can DIY an entire wall of LEDs! In this episode of Tech Random, Chris Parker is teaching you how to build your own 7-foot wide LED matrix for under $500! With a focus on beginner-friendly steps, Chris will walk you through the entire process of building the panels, connecting the LEDs, and using WebSockets to control the display over WiFi. This video is a must-watch for anyone who wants to add a pop of color and life to their room, or for those who are looking for a unique visual experience for their music or video calls. So get ready to ignite your creative side, as Chris takes you through the exciting world of LED walls!
Although most of the dirty work is done by a microcontroller, the support circuitry is quite interesting, largely because of the use of a discrete voltage regulator. The module will run from 5V to 24V.
Creating a simple display using Neopixel Matrices and a customized version of the Pixel_Framebuf and Led_Animation libraries.
The 100Ω resistor in the cheap one is included more to absorb reflections that as a current limiter, but it would tend to help at least a little in that respect.
Timestamps: 0:00 Demo of the Display 0:26 Introduction 0:50 3D Printing the Tiles 1:43 Materials and Supplies 2:19 Like the Video 2:35 Building the Panel 4:10 Testing the LEDs 5:27 Connecting the Power Supply 6:54 Adding the Diffuser 8:21 Fixing Broken Software 9:08 WebSockets 10:06 Single Panel Firmware 11:23 Four Panel Firmware 13:26 Final Thoughts
Even a 1k resistor on the data line would have sufficed. It’d limit the current below what would damage the chip just using the body diode. It’s not a great protection but it’s a lot better than nothing.
CircuitPython Tiled Neopixel Panel https://www.hackster.io/nicolaudosbrinquedos/circuitpython-tiled-neopixel-panel-446b73
NightDrivervs WLED
The Sensory Bridge Is Your Path To A Desktop Rave https://hackaday.com/2022/09/26/the-sensory-bridge-is-your-path-to-a-desktop-rave/
They use special higher voltage LEDs so the current per pixel is much lower than the 5V version for a given number of pixels. I took one apart to explore and took a look at the LED arrangement inside one of the LEDs.
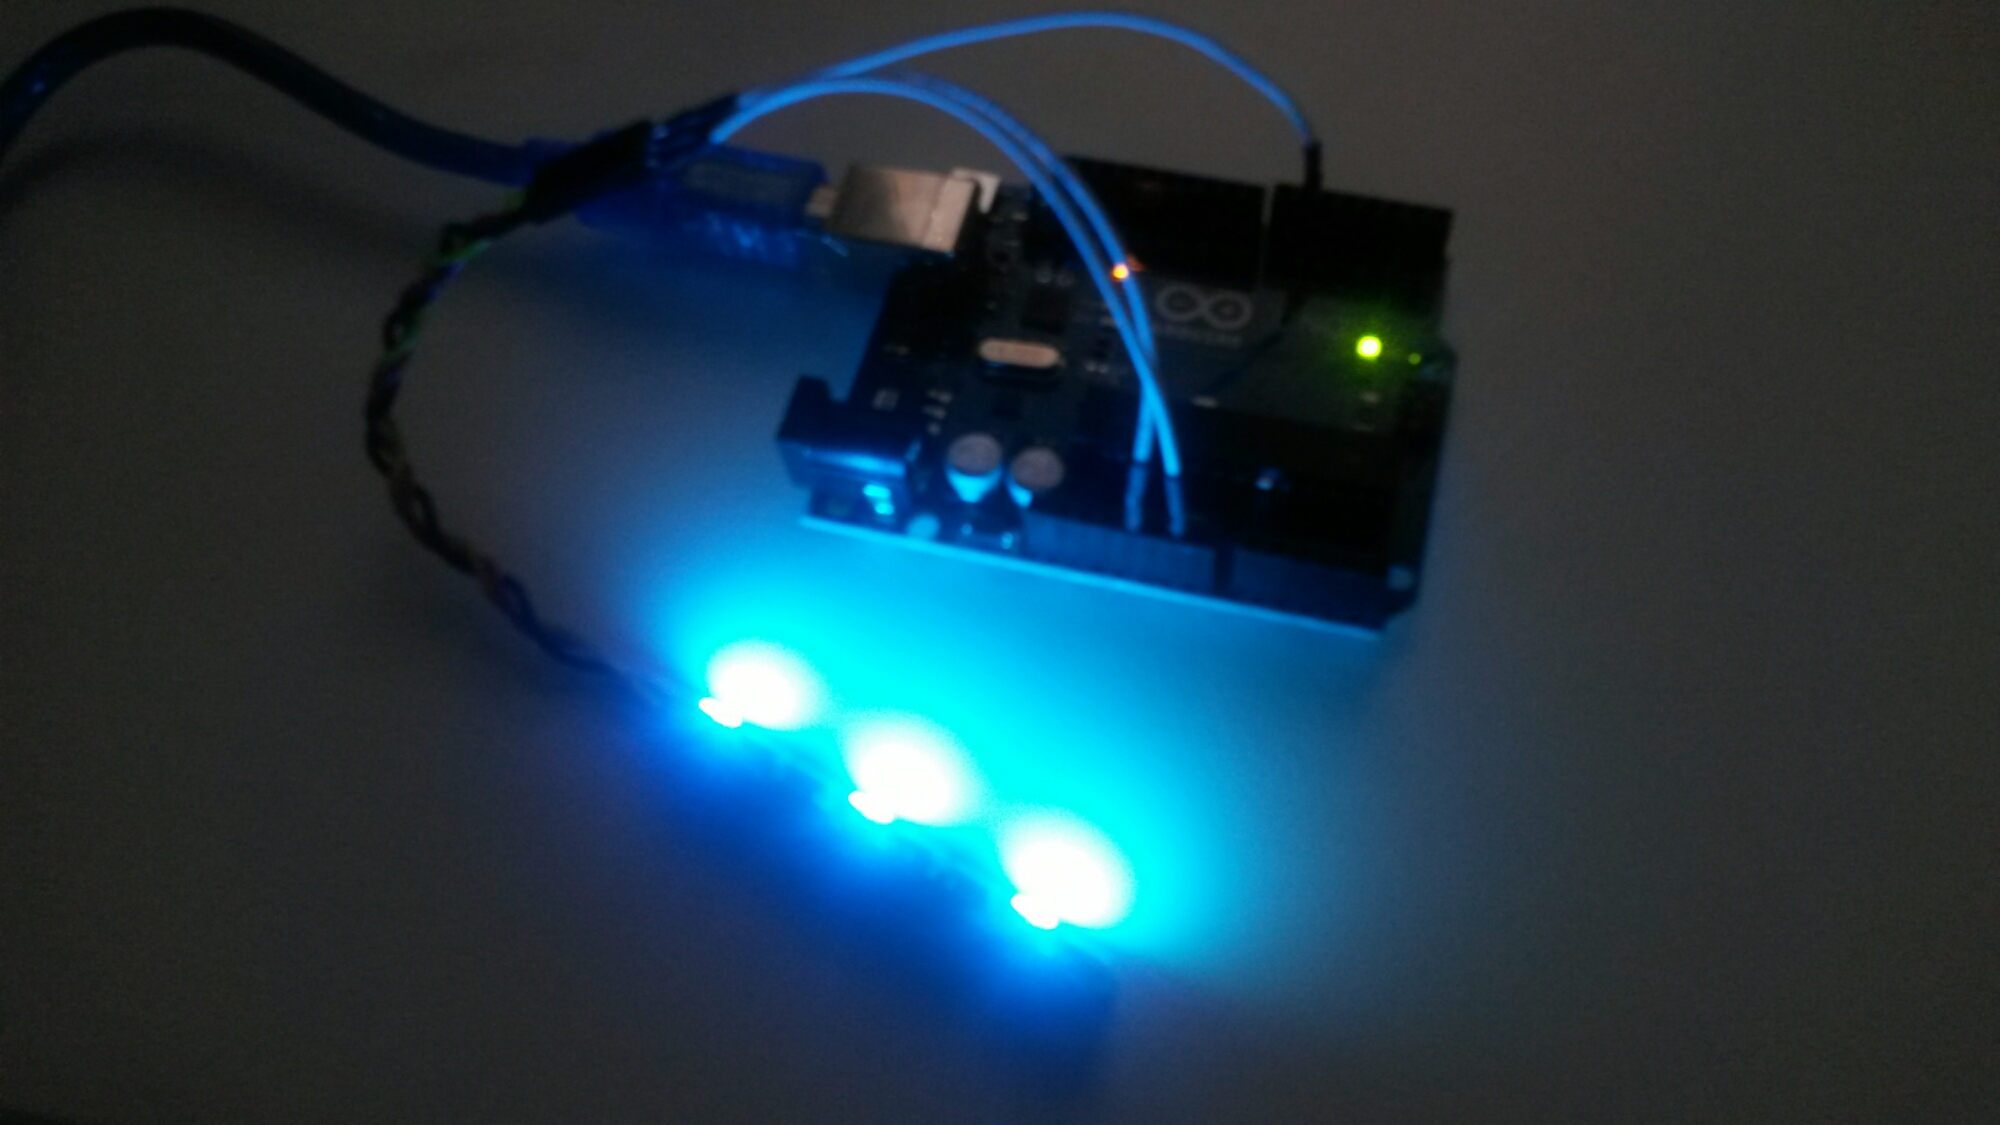
I planned to use either Arduino or ESP8266 to control those LEDs. After some looking on vailable examples and technical data on the LEDs, I planned to use Arduino (Arduno Uno), because it’s 5V power and 5V logic level is directly suitable. And there are many Arduino tutorials for WS2812.
Zero-code LED animations with Raspberry Pi Pico https://www.raspberrypi.com/news/zero-code-led-animations-with-raspberry-pi-pico/
. In this article, we’re going to look at one way of getting started with LED effects quickly and cheaply that you can use for any occasion.
Statistics and information on the worldwide supply of, demand for, and flow of the mineral commodity zeolites.
Looks like a textbook ‘Arduino’ type implementation of the 16Mhz Atmega chip, i just did something similar as a home project, admittedly not using DMX but oldschool beat detection using the analogue ADC inputs on the chip
Others have probably mentioned it – but the two sets of passives supporting the dmx chips don’t appear to be identical (to my inexperienced eyes). There are two 10k resistors (R21 & R28) in the set for the “top” chip. Interesting video, as always.. Stay safe out there.
12 Jan 2008 — You can fit just about any size you want. It is all a matter of what kind of mount you use. Most 7" long lights should clear your neck without ...
This is why I always buffer outputs. Protect the expensive, hard to replace chip with a 10c buffer/driver. The rest of the circuits are good too, but it’s a lot easier to replace a little SOT/TSOP package than a BGA or QFP.
MesmerizerLED
You can use a Raspberry Pi Pico, Pico W, Adafruit Feather RP2040 SCORPIO, or an Arduino Nano RP2040. Other RP2040 boards may work, but they’re not officially supported, so it’s possible you’ll run into problems.
To get easy start, I planned to follow instructions fro Arduino Addressable LEDs & Splendid Projects page. That page had an example source code that looked to be useful and simple wiring instructions.
Addressable pixels work by taking in a data stream on the Data In pin, using the first values for what it needs (for an RGB pixel, the first 3 values on the stream), dropping the data it used and then transmitting the remaining data down the Data Out pin. This repeats until there is no data left to send (each pixel “eats” it’s part of the data stream), so you can have over 4,000 pixels, though at lower frame rates. That’s how huge carnival rides run such complicated patterns that would require dozens of DMX universes to run.
Night driverLEDSoftware
LED Christmas Lights Optimized For Max Twinkleage https://hackaday.com/2022/12/21/led-christmas-lights-optimized-for-max-twinkleage/
Inputs and outputs that interface with the real world should be protected from rogue external voltages. Even a simple resistor on the output of this unit could have limited fault current to a level where the output circuitry was protected.
Normally it’s to provide some approximate match to the impedance of the signal line. It helps to avoid signal overshoot at the receiving end by treating it as a serially terminated transmission line. It will also inevitably have some effect on slew rate if the signal line is long enough to have significant capacitance.
Build Your Own RGB Fill Light For Photography https://hackaday.com/2024/04/19/build-your-own-rgb-fill-light-for-photography/
Visitors at the Garden D’Lights in Bellevue, Washington had a problem. While touring the holiday lights show, they kept straying off the path. The event organizers tried some simple LED arrows, but they were just more points of light among a sea filled with them. This is when [Eric Gunnerson] was asked to help out. He’s apparently had some experience with LED animations, even cooking up a simple descriptor language for writing animations driven by an ESP32. To make the intended path obvious, he turned to a PVC board with 50 embedded WS2812 pixels –RGB controllable LEDs. The control box was a USB power adapter and an ESP8266, very carefully waterproofed and connected to the string of pixels. The backer board is painted black, to complete the hardware. Stick around after the inevitable break, to get a look at the final
My guess is it was originally designed for the more common 5V LED tape, but they forgot to add protection when they modified it for 12-24V use.
The unit is powered by a 5 V 2 A USB-C connector. Different knobs on the device adjust the brightness, microphone sensitivity and reactivity of the LED strip
Non Flammable Non Toxic Gas.
We’ve now done all the setup work, but we haven’t yet got an animation. There are ‘pro’ and ‘free’ animations. We’ve been playing with the free options, but no-doubt there are some interesting choices available in the paid-for tier as well.
CircuitPython Neopixel BMP Animation https://www.hackster.io/nicolaudosbrinquedos/circuitpython-neopixel-bmp-animation-e2ca24
Dave introduces the Mesermerizer, an amazing new LED module based on the ESP32 that includes over 30 built-in effects ranging from Music Visualizers to the current Weather. Join the project by visiting NightDriverLED.com for technical info.
SRGB animations are two-dimensional, and you can place your various strips within this 2D space. This means that if you have multiple strips, you can place them so that they display suitable parts of this 2D pattern. This is all set up in the Layout section.
OK, OK… you’re right. WS2812B is not “new” in that it’s been around since 2013, but it’s “new” to most hobbyists, as evidenced by the responses below. But a small and dedicated group of hobbyists has indeed been using them for a number of years, so they’re not “new” in that sense.
This unit has a very perplexing design. It seems like the designer copied many protective elements from other designs, but then failed to apply the same concept to their own output.
Dave takes you on a tour from the first LEDs to the latest in LED technology, the individually addressable LEDs such as Neopixels/WS2812B style. From the quantum effects to how to wire their data line, Dave covers it all!
NightDriverinstall
Opening Doors is a nonprofit organization who help women and children who are experiencing homelessness in Dubuque, IA.
Most pixel controllers I’ve seen use a series resistor between 33R and 100R on each output. AFAIK, it’s mainly there for slew rate limiting.
Want to build your own LED-powered laser cannon effect? Dave takes you through a demo and then all of the steps needed to build it! Learn how to use the NightDriver open-source software to build dozens of effects!
The first dance of a newly married couple at the wedding reception is both a sentimental and memorable event, so why not make it even more so with something a bit special? Hackaday alumnus [Brett Haddoak] and his wife [Rachelle] certainly achieved that, with 1200 addressable LEDs turning her wedding dress into a real-life reproduction of Princess Aurora’s color changing dress from Disney’s Sleeping Beauty.
My first take on MicroPython and the new Raspberry Pi Pico W. Had some struggle wit the lacking ram but at the end a simple screen share worked which allows you to project anything shown on your PC screen to a nice LED Matrix display wirelessly. The case with back projection screen is printed in one Piece. It’s a super simple project to make on a weekend. I have better Websocket versions coming so subscribe to not miss that.
To test controlling WS2812 RGB LEDs I bought a cheap addressable LED strip. An addressable RGB LED strip is a long flexible strand of LEDs each of which can be individually set to a certain color (hence: addressable). By varying the level of red, green and blue (RGB) per LED many color combinations can be made. Addressable LED promise is to be an easy way to add complex lighting effects to any project. WS2812 neopixels are addressable RGB LEDs. The integrated controller chip allows you to change the color of the LED and address each individual LED. ThoseWS2812 LEDs are powered with 5V – 7V power source (60 mA power consumption) and are controlled through a serial bus (one control signal).
Yes. I’ve made similar things with the 5V LEDs so the output protection was never an issue. However, I have learned from this and will be more careful in future.
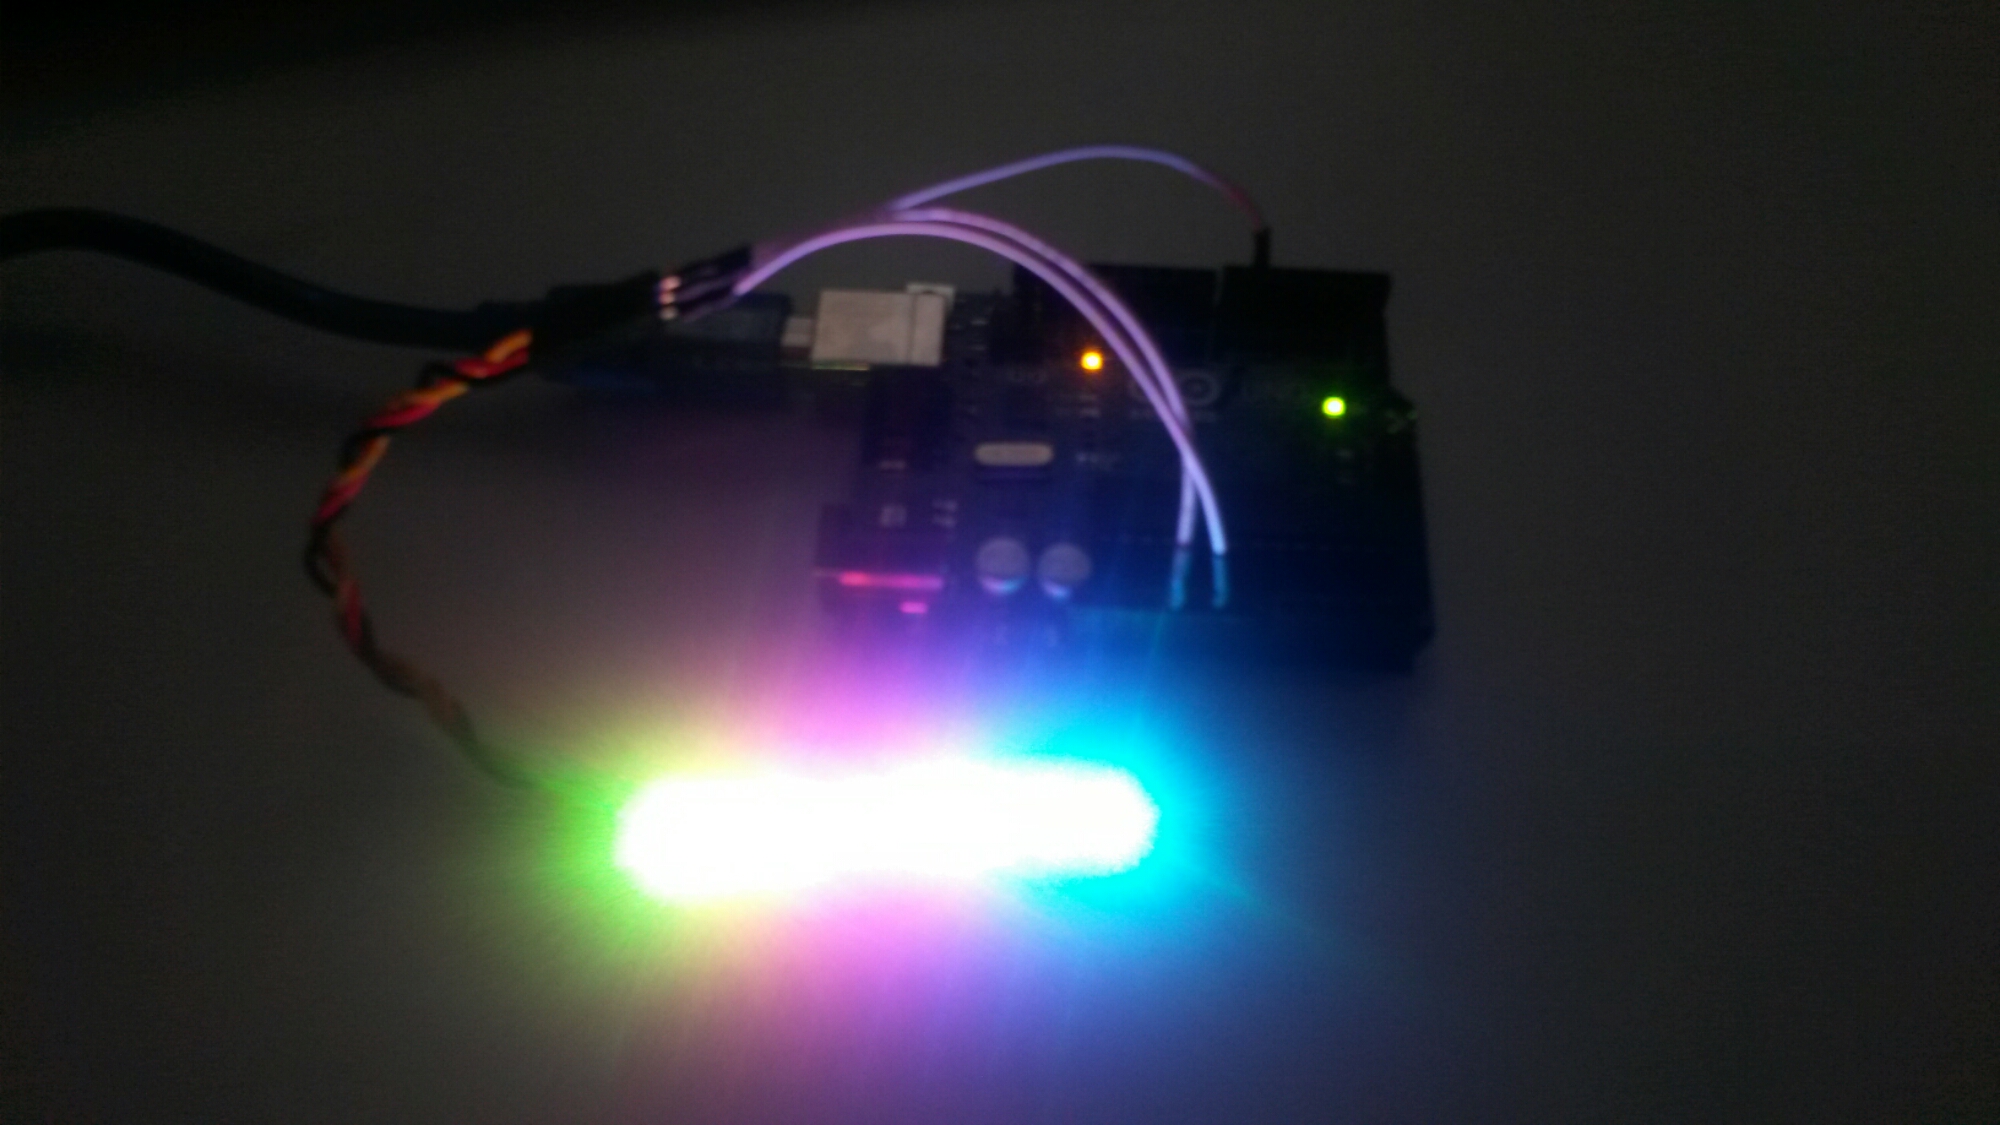
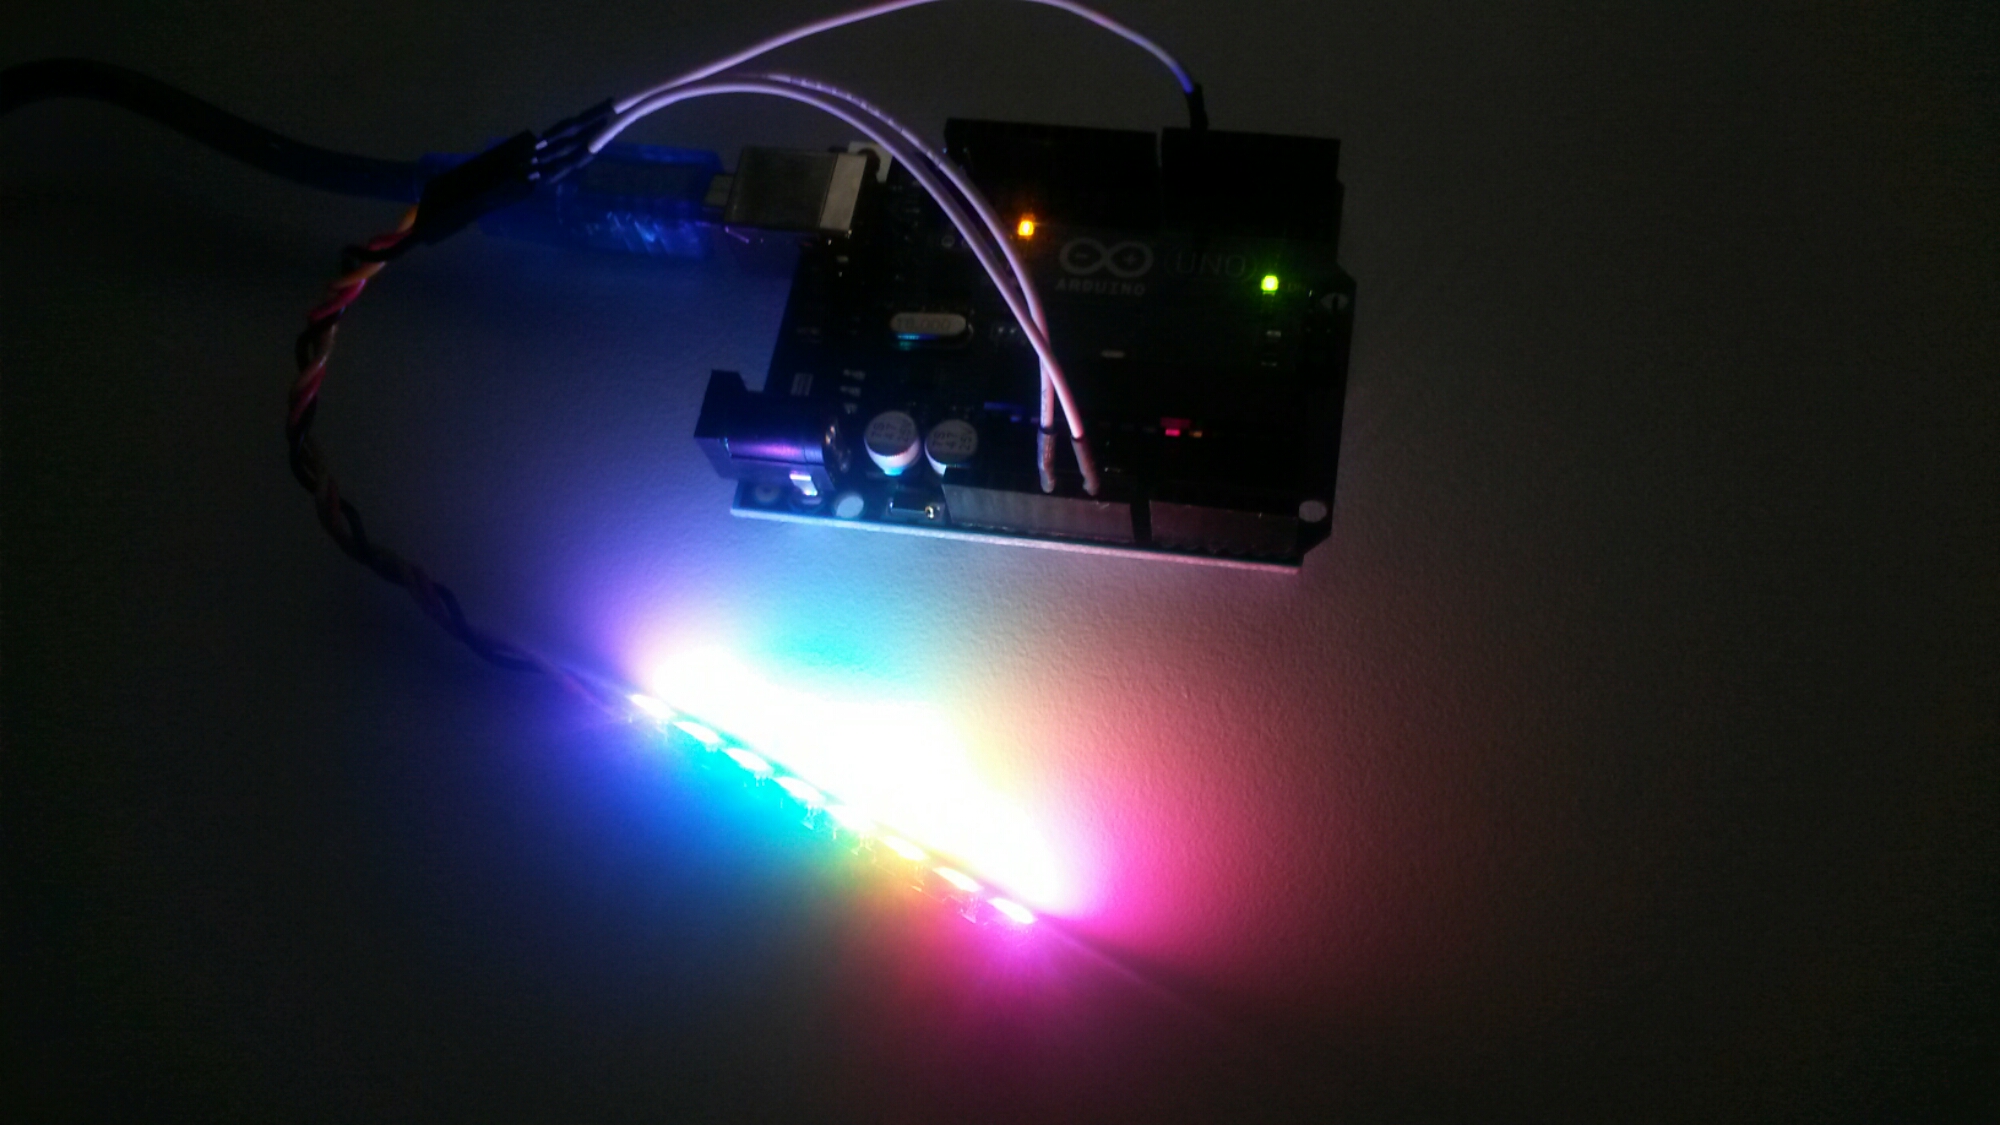
In the first test I fould out that in addition to the source code I also needed NeoPixel Arduno library. So I needed to get the library from https://github.com/adafruit/Adafruit_NeoPixel and install it according to instructions. After downloading, I had to rename folder to ‘Adafruit_NeoPixel’ and move it to Arduino Libraries folder. After restarting Arduino IDE , I opened File->Sketchbook->Library->Adafruit_NeoPixel->strandtest sketch example file. This worked well. I also tried the original code fromArduino Addressable LEDs & Splendid Projects page which I modified to use 8 LEDs instead of one. Both examples made a “random” color light show on my LED strip. Enough for first testing.
RGB LEDs are awesome – especially the new, fancy ones with the WS2812 RGB LED driver. These LEDs can be individually controlled to display red, green, and blue, but interfacing them with a microcontroller or computer.
Although I’ve featured the 5V version of these before I have avoided the 12V version because I thought they might just be the same as the 5V version with a higher value resistor. But they’re not.
Inputs and outputs that interface with the real world should be protected from rogue external voltages. Even a simple resistor on the output of this unit could have limited fault current to a level where the output circuitry was protected.
The PTC self-resetting overcurrent thermistor and clamp diode approach is common on better designed DMX devices, as it protects the data inputs from rogue voltages. The same sort of rogue voltage that might occur from a logic level data output that is in the direct vicinity of much higher voltage pads. All it took was someone accidentally bridging two pads with a whisker of wire or solder, to completely destroy the unit instantly. Specifically destroying a custom programmed microcontroller with no easy replacement.
OK, we’ll own up right at the start. We said zero code in the title – and that is true; you don’t have to write a single line of code – but you do have to compile the automatically generated code yourself. Let’s take a look at what this means.
It looks like it’s time for a little adapter board with a better input connector, protection, and a socket for the LED tape.
https://www.hackster.io/news/waveshare-s-esp32-s3-matrix-pairs-a-dual-core-espressif-microcontroller-with-an-rgb-led-matrix-066c6dec55d5
Features · Wireless brake and indicator light control · Easy install · No more broken plugs and wires.
Nightdriver ledapp
That doesn’t explain the lack of ESD protection, so it’s really just the design that’s flawed no matter the original use case.
> you can use one output of an RS485 driver for this Thanks man, great idea! i spent so much time thinking about how to properly protect outputs. Never found a really satisfying method. Had some success with iC-DX from iC-Haus, but its only suitable for higher Voltages. Still lacking a solution for 5V and 3V3 outputs. My last attempt was using nMOS transsitors in a clamping configuration… wich lead to higher-than-expected currents in a fault situation. But still, better than blown circuit board.
What’s better than birthday candles? LED animations of course! In this video we’ll tackle the age old question: can you embed LEDs into a birthday cake? Using flexible LED matrixes and an Arduino, Natasha explores how to incorporate the matrixes into a cake and drapes fondant icing over them to diffuse the light. It’s an exciting use case for LEDs and a spectacular birthday cake!
The only ones I know of that care how many pixels are on the line are ones that create their own shows when they don’t have DMX data coming in… great for a bar that has a standard look until the DJ gets in and starts the DMX software… unlikely to be the case in the unit you’re looking at.
The PTC self-resetting overcurrent thermistor and clamp diode approach is common on better designed DMX devices, as it protects the data inputs from rogue voltages. The same sort of rogue voltage that might occur from a logic level data output that is in the direct vicinity of much higher voltage pads. All it took was someone accidentally bridging two pads with a whisker of wire or solder, to completely destroy the unit instantly. Specifically destroying a custom programmed microcontroller with no easy replacement.
Nightdriver ledgithub
Nightdriver ledreview
The Sensory Bridge has the ability to update up to 128 RGB LEDs at 60 fps. The unit has an on-board MEMS microphone that picks up ambient music to produce the light show. The chip is an ESP32-S2 that does Fast Fourier Transform trickery to allow for real-time updates to the RGB array. The LED terminal supports the common WS2812B LED pinouts (5 V, GND, DATA). The Sensory Bridge also has an “accessory port” that can be used for hardware extensions, such as a base for their LED “Mini Mast”, a long RGB array PCB strip.
The DMX to LED controllers I’ve worked with have you set the DMX address and from there they convert inbound DMX channels into sequentially transmitted SPI data streams, completely agnostic of the pixels attached. If you have 50 pixels and send 160 channels of RGB, the last pixel takes it’s data (what would be DMX channels 148, 149 and 150) and relays the rest to … an empty wire. The DMX controller is responsible for knowing how many channels to send per pixel (fixture) and in what order (GRB for most WS2811-type LEDs). Some are capable of driving several different types of addressable LEDs sending data in something other than the WS281x format.
This unit has a very perplexing design. It seems like the designer copied many protective elements from other designs, but then failed to apply the same concept to their own output.
This looks like an Arduino project modified with mostly decent protection circitry. Besides protection on that output (you can use one output of an RS485 driver for this with diodes etc) I would also protect the power supply from being reverse connected with a couple of diodes.
3- ws2811 and ws2812b are the same thing protocol-wise. Ws2812b is technically an SMD5050 LED chip with the ws2811 chip built in, but nowadays they get used interchangeably for anything so just fyi, one or the other most likely doesn’t matter. I will say however that ws2811 LED strips usually means they have three pixels per address. Usually not the case with pixel strings like this.
[Lixie Labs] are no strangers to creating many projects with LEDs or other displays. Now they’ve created a low latency music visualizer, called the Sensory Bridge, that creates gorgeous light shows from music.
Ninja 20 adapts high color rendering index COB LED lamp beads,with high luminous efficiency,accurate color temperature and long life,It used for Photography ...
Battery charging cabinets have a power strip as a charging station for laptops, smartphones or other devices and battery-operated tools. The advantage is that ...
That design is really, really strange. The DMX input is flat wrong (doesn’t pass through but no source or end termination), weird expensive protection instead of the dirt cheap TVS diode set that provides at least the same level of protection, and yet absolutely nothing on the output at all.
Thumbnail changed from “dead” to “fried” to respect the passing of Her Majesty the Queen. It may take a while to go through the system as it was released before the news.
This is like the electronics equivalent of the Death Star weak point. Armoured and defended up the hilt, except for that one access port that allows a rebel to stroll in and blow the thing to smithereens. Or in this case a stray bit of conducting material.
Go to Library > Free in the left-hand side, and you should see the options. Click on an option to download it and you should then see it playing at the top of the left-hand pane. It should also start displaying on the LEDs at this point.


 13322766566